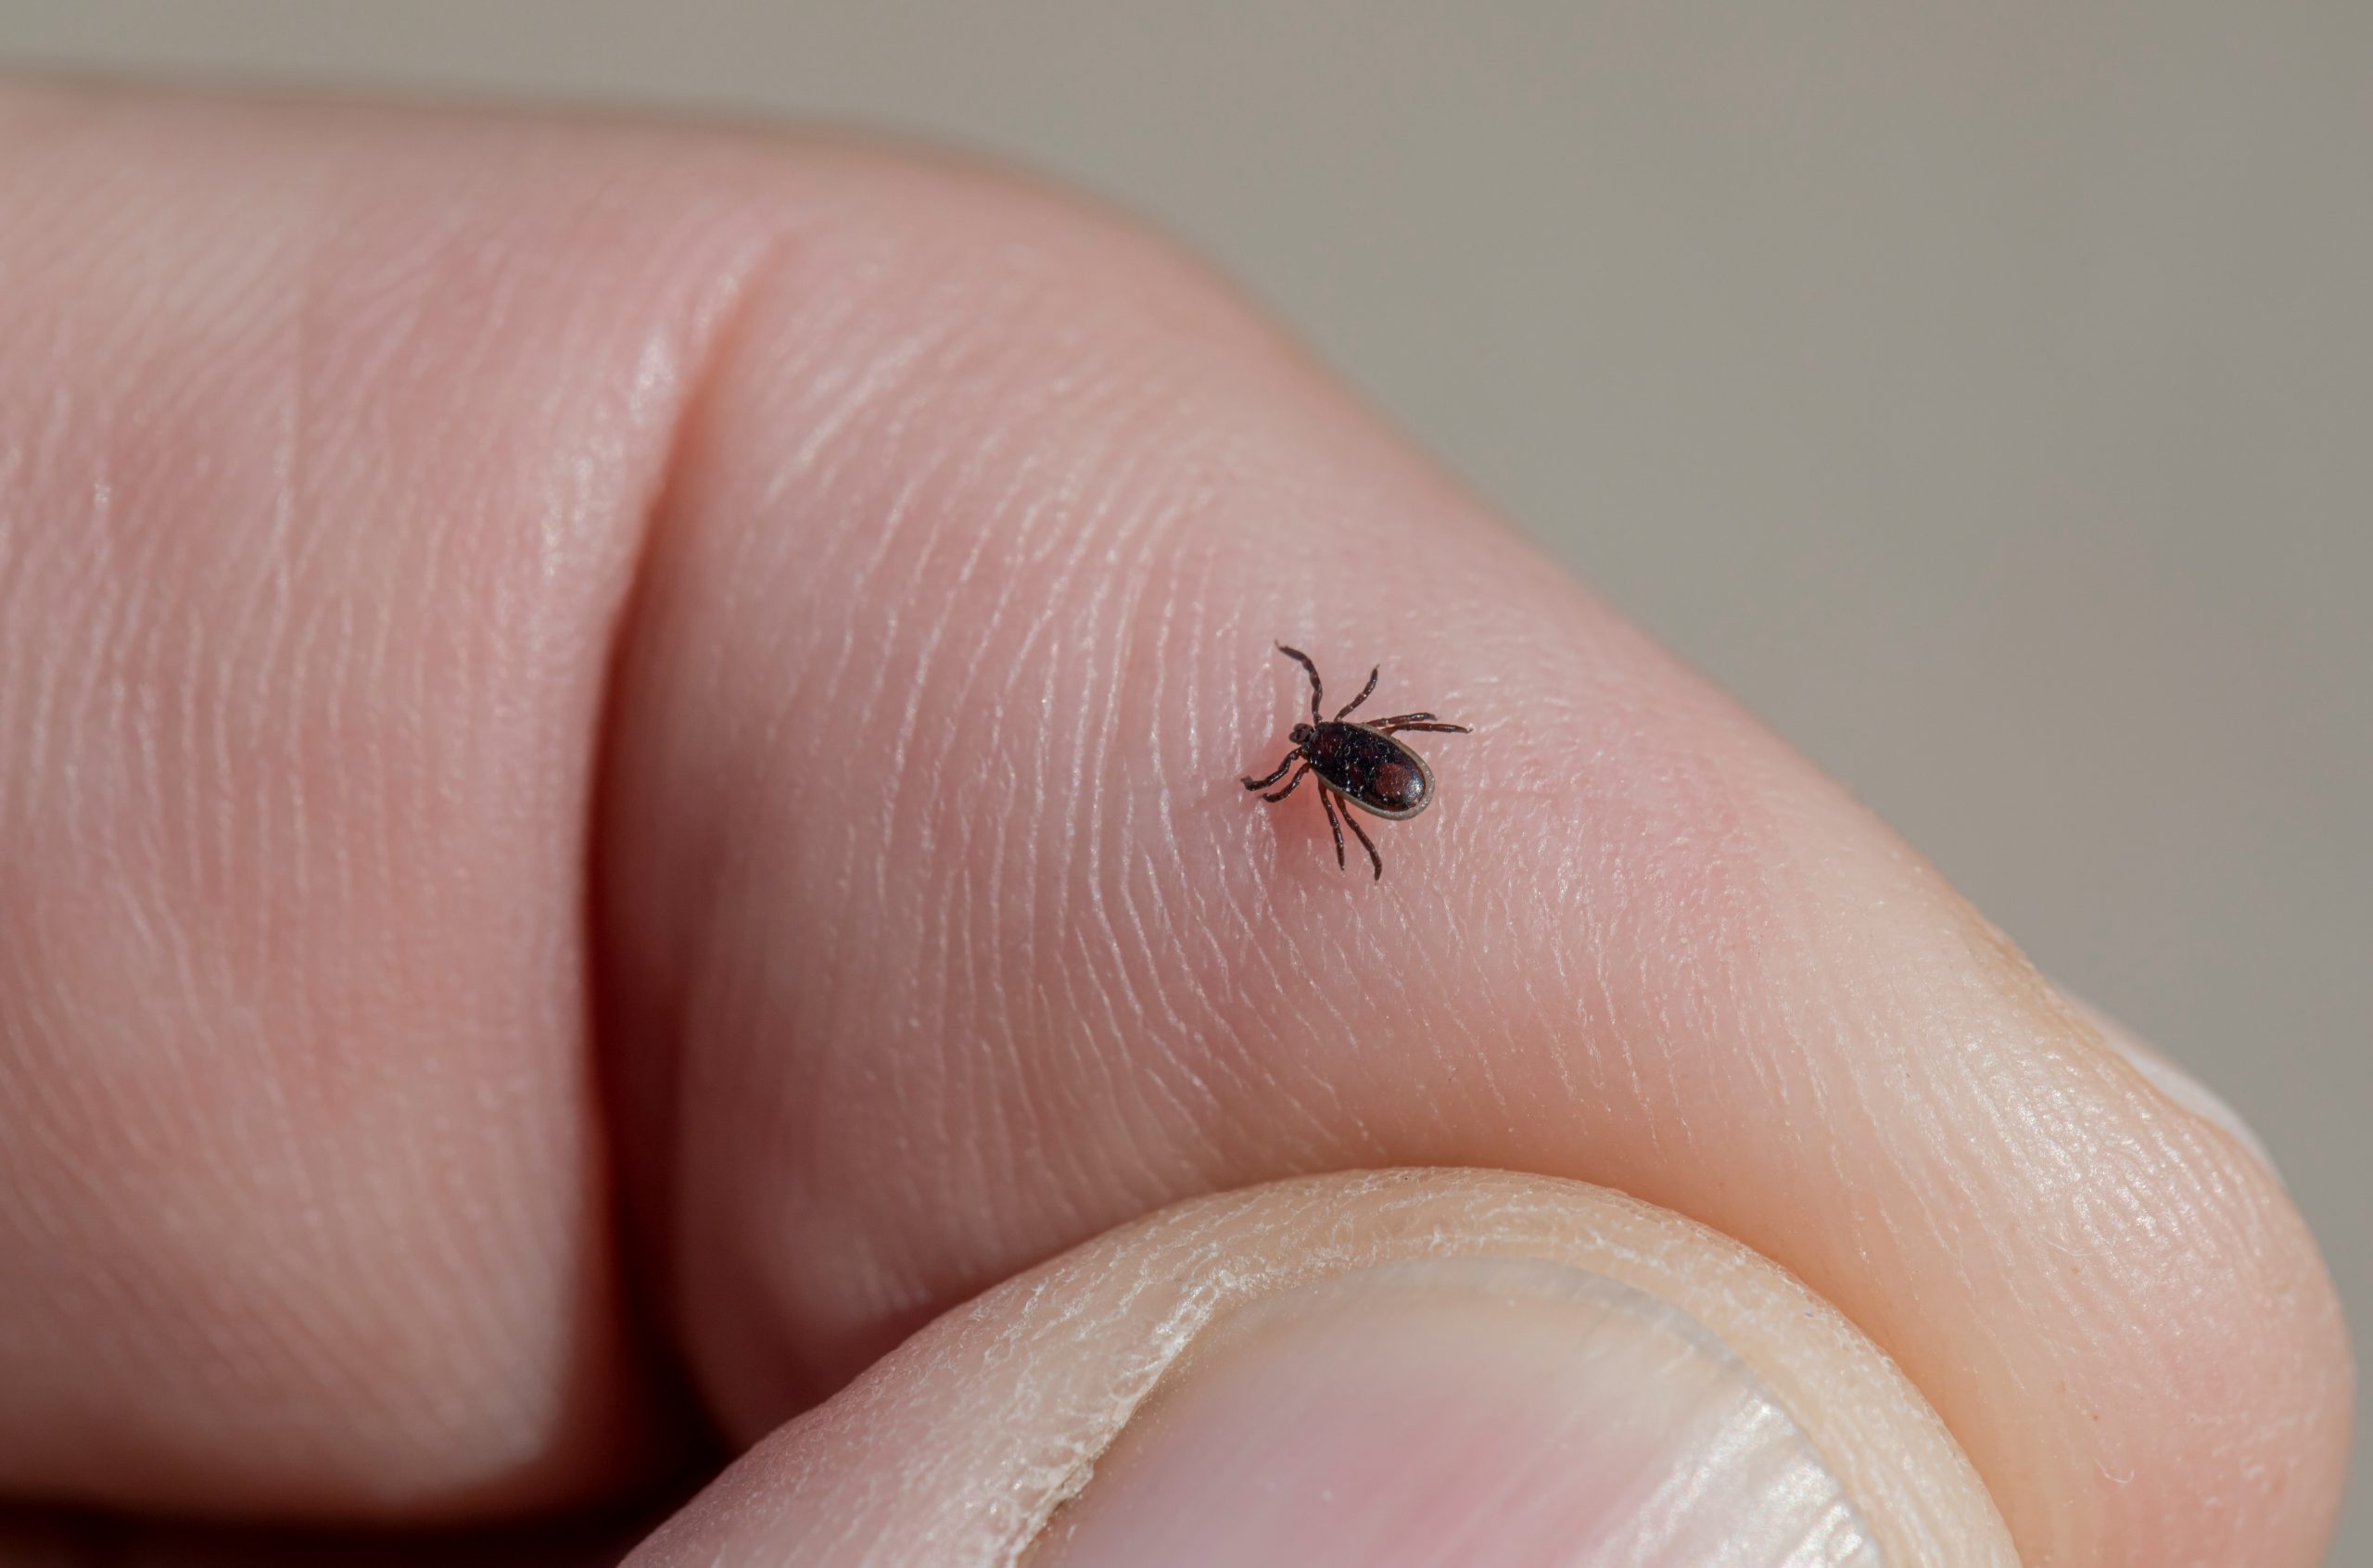
You’re helping your child change clothes after an afternoon outside when you notice something tiny on their skin.
At first, it looks like a speck of dirt.
Then you look closer.
It has legs.
And on its back is a small, unmistakable white spot.
For many parents, that is enough to trigger immediate panic.
Is it a tick?
Did it bite my child?
Does the white spot mean it’s dangerous?
Could it carry a disease?
And should we go straight to the doctor?
The first thing parents should know is simple:
A white spot can help identify certain ticks, but it does not tell you whether your child has been infected with anything.
What you do next matters much more.
That White Spot Could Be an Important Clue
One tick found in parts of the United States has a particularly recognizable appearance.
It’s called the lone star tick, scientifically known as Amblyomma americanum.
According to the U.S. Centers for Disease Control and Prevention, an adult female lone star tick can be distinguished by a white dot—or “lone star”—on its back.
Lone star ticks are widely distributed across parts of the Northeast, South and Midwest.
They are also aggressive human biters.
So if the bug on your child truly is a tick with one prominent white spot on its back, an adult female lone star tick is one possibility.
But there’s an important warning.
Don’t diagnose the species from one visual feature alone.
Tiny insects can be difficult to identify accurately.
Lighting can distort colors.
Photographs can hide important details.
Different life stages can look different.
And other small bugs may be mistaken for ticks entirely.
The white dot is a clue—not a medical diagnosis.
First Question: Is It Crawling or Attached?
Before worrying about disease, determine whether the tick is actually attached to your child’s skin.
If it’s simply crawling, carefully remove it and perform a thorough tick check.
If it’s attached, the priority is different:
Remove it promptly.
You don’t need an elaborate home remedy.
You don’t need to wait for it to fall off.
And you generally shouldn’t delay removal while waiting to see a healthcare professional.
CDC guidance recommends removing an attached tick as soon as possible.
How to Remove an Attached Tick Correctly
Use clean, fine-tipped tweezers if available.
Grasp the tick as close to your child’s skin as possible.
Try to grab it near the mouthparts rather than squeezing the swollen body.
Then:
Pull upward using steady, even pressure.
Don’t twist.
Don’t jerk.
Afterward, clean the bite area and your hands with soap and water or rubbing alcohol.
If small mouthparts remain and cannot easily be removed with clean tweezers, CDC guidance says they can be left alone and the skin allowed to heal rather than aggressively digging into the skin.
Don’t Try to “Suffocate” or Burn the Tick
Families have passed down all kinds of tick-removal tricks.
Petroleum jelly.
Nail polish.
Heat.
Trying to irritate the tick until it releases.
Skip them.
Mechanical removal with tweezers is straightforward and recommended.
The goal isn’t to convince the tick to leave.
The goal is to remove it promptly and safely.
Then Check the Rest of Your Child
Finding one tick should trigger a full-body check.
Ticks can be extremely small, and children may have been exposed to more than one.
CDC guidance specifically advises parents to check children carefully after possible tick exposure.
Pay particular attention to areas such as:
- In and around the ears
- Hair and scalp
- Under the arms
- Around the waist
- Behind the knees
- Between the legs
- Around other skin folds
Don’t forget clothing and gear.
