
Finding a tick attached to your child’s skin can be unsettling.
Your first instinct may be to grab it immediately, squeeze it, cover it with something or try one of the home remedies you’ve heard about over the years.
But this is one situation where how you remove the tick matters.
The Centers for Disease Control and Prevention recommends removing an attached tick as soon as possible using tweezers and steady, even pressure.
You shouldn’t wait for the tick to fall off on its own.
And you shouldn’t try to force it off with heat, petroleum jelly, nail polish or similar methods.
Afterward, knowing what to watch for can be just as important as removing the tick correctly.
Here’s what parents should know.
First: Don’t Panic
A tick bite does not automatically mean your child will become seriously ill.
Ticks can transmit several diseases, but finding an attached tick is a reason for sensible action—not panic.
The first priority is straightforward:
Remove it promptly and correctly.
CDC guidance specifically advises against delaying removal just to wait for a healthcare professional.
The longer an attached tick remains in place, the greater the opportunity for certain tick-borne pathogens to be transmitted.
So if you can safely remove it, do so.
How to Remove a Tick Correctly
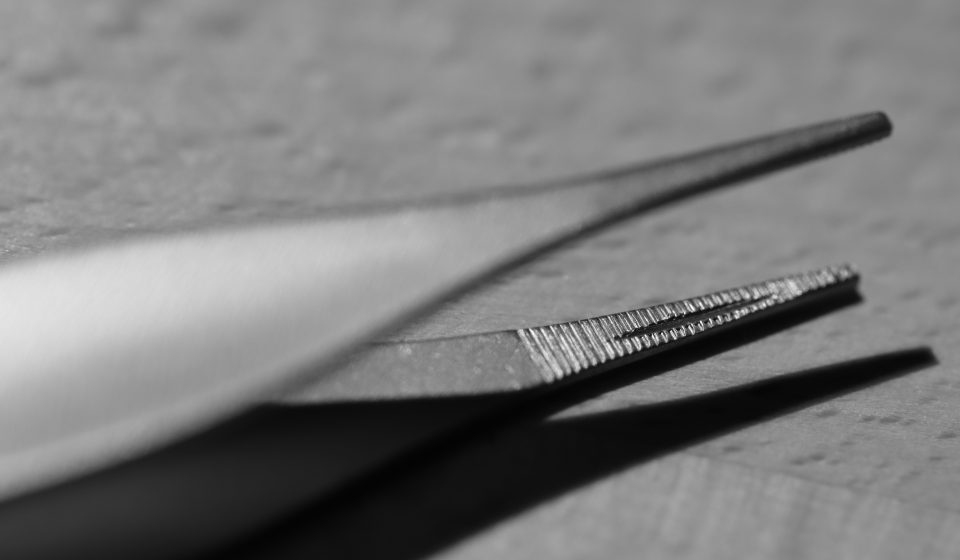
Use clean, fine-tipped tweezers if they’re available.
Grip the tick as close to the surface of the skin as possible.
You want to grasp it near where its mouthparts enter the skin rather than squeezing its swollen body.
Once you have a secure grip, pull the tick away from the skin using steady, even pressure.
Don’t jerk it.
Don’t twist it.
Continue pulling steadily until it comes free.
This simple method is the one recommended by the CDC.
Don’t Twist or Yank It Out
It can be tempting to twist the tick as though you’re unscrewing it.
Don’t.
Twisting or jerking can cause the tick’s mouthparts to break off and remain in the skin.
If this happens and the remaining pieces can be removed easily with clean tweezers, the CDC says they can be removed.
But if they don’t come out easily, don’t keep digging into the skin.
The CDC advises leaving them alone and allowing the skin to heal.
Skip the Petroleum Jelly, Nail Polish and Heat
Tick removal has accumulated plenty of folk remedies.
You may have heard that you should:
Cover the tick with petroleum jelly.
Paint it with nail polish.
Touch it with something hot.
Wait for it to back out.
These approaches aren’t recommended.
The CDC specifically warns against using petroleum jelly, heat, nail polish or other substances in an attempt to make a tick detach.
The goal isn’t to irritate the tick.
The goal is to remove it promptly.
Tweezers and steady pressure are enough.
Don’t Crush the Tick With Your Fingers
Once the tick is removed, resist another instinct:
Don’t crush it between your fingers.
The CDC recommends disposing of a live tick by placing it in a sealed container, wrapping it securely in tape, placing it in alcohol or flushing it down the toilet.
A photograph may also be useful for later identification.
If you decide to keep the tick temporarily, use a sealed container.
However, there’s an important distinction here.
CDC guidance generally does not recommend commercial testing of ticks to determine whether you need treatment.
A tick testing positive for a pathogen doesn’t prove that the person was infected, while a negative test can provide false reassurance.
Medical decisions should be based on the circumstances of the bite, symptoms and professional medical assessment—not simply a commercial tick test.
Clean the Area Afterward
After the tick has been removed, clean the bite area thoroughly.
Also clean your hands.
The CDC recommends soap and water, rubbing alcohol or hand sanitizer.
Then check the rest of your child’s body.
Finding one tick doesn’t guarantee there isn’t another.
Ticks can be extremely small and can hide in places that are easy to overlook.
Check the Places Ticks Like to Hide
After outdoor activities, parents should perform a careful full-body check on children.
Pay particular attention to areas such as:
- In and around the hair
- Around the ears
- Under the arms
- Inside the belly button
- Around the waist
- Between the legs
- Behind the knees
Ticks can be difficult to notice, particularly when they’re small.
A careful check after time in wooded, grassy or brushy areas can help identify them sooner.
Write Down When You Found It
This small step can become useful later.
Record the date the tick was removed.
Also note where your child was likely exposed—for example, during a hike, camping trip, time in tall grass or another outdoor activity.
If symptoms later appear, that information can help a healthcare provider evaluate what happened.
A photograph of the tick may also help with identification.
You don’t need to turn the experience into a complicated investigation.
Just preserve the basic information.
Now Comes the Important Part: Watch for Symptoms
Removing the tick isn’t necessarily the end of the story.
Over the following days and weeks, pay attention to how your child feels.
CDC guidance says to seek medical care if symptoms such as a rash or fever develop after a tick bite.
Other tick-borne illnesses can be associated with symptoms including:
- Headache
- Fatigue
- Muscle aches
- Joint pain
- Chills
- Rash
Different infections can cause different symptoms, and not every person develops the same pattern.
That’s why parents shouldn’t attempt to diagnose a tick-borne disease solely by comparing a rash with photographs online.
If your child becomes ill after a known tick bite, contact a healthcare professional and mention the bite.
Not Every Lyme Rash Looks Exactly the Way People Expect
Many people associate Lyme disease with the famous “bull’s-eye” rash.
That image is useful, but it can also create a misconception.
A Lyme disease rash doesn’t always appear as a perfect red target.
And not everyone with Lyme disease develops or notices the same skin findings.
That means parents shouldn’t wait for a textbook bull’s-eye before seeking medical advice when concerning symptoms develop after possible tick exposure.
Tell the healthcare provider when the tick was found and where the exposure likely occurred.
Those details matter.
Could Your Child Need Preventive Antibiotics?
Sometimes—but not after every tick bite.
This is an area where parents should avoid self-treatment.
According to the CDC, in certain circumstances a single dose of doxycycline after a tick bite in an area where Lyme disease is common may reduce the risk of developing Lyme disease.
Whether prophylaxis is appropriate depends on the circumstances.
That assessment can involve factors such as the type of tick, geographic location and characteristics of the exposure.
The decision should be made with a healthcare provider.
So if you believe the tick may have been attached for a prolonged period—or you aren’t sure how long it was there—contact your child’s healthcare provider promptly rather than waiting for symptoms and trying to make the decision yourself.
Don’t Give Leftover Antibiotics
Finding a tick is not a reason to open the medicine cabinet and start whatever antibiotic happens to be available.
Antibiotics aren’t automatically recommended for every bite.
Different tick-borne diseases also aren’t prevented or treated identically.
Using leftover medication can mean using the wrong drug, dose or duration while delaying proper evaluation.
If preventive treatment is appropriate, let a healthcare professional determine it.
A Small Red Spot Immediately After Removal Isn’t Automatically Lyme Disease
The skin can become irritated where a tick was attached.
A small localized reaction doesn’t automatically mean a tick-borne infection has developed.
What matters is how the area and your child’s overall condition evolve.
If a rash expands or your child develops fever or other concerning symptoms, seek medical advice.
Taking a photograph of the bite area after removing the tick can give you something to compare against later.
Prevention Starts Before the Next Outdoor Trip
Tick prevention doesn’t require keeping children indoors.
It requires planning.
When children will be spending time in areas where ticks may be present, use an appropriate insect repellent according to its label instructions.
EPA-registered repellents can help reduce tick bites.
Parents should apply products to children according to the directions on the specific label and avoid allowing young children to handle or apply repellents themselves.
Protective clothing can also help.
Depending on the activity, that may include long pants and closed shoes.
Permethrin-treated clothing and gear are another preventive option when used according to product instructions.
Permethrin intended for clothing should not simply be applied directly to skin.
The Check After Coming Home Matters
One of the simplest habits is also one of the most useful:
Check for ticks after outdoor activities.
Look carefully at the child’s body.
Check clothing and gear.
Check pets too, since ticks can be carried indoors and later attach to a person.
Showering after coming indoors can also help identify ticks that haven’t yet attached.
These steps don’t guarantee that every tick bite will be prevented.
But they improve the chances of finding ticks early.
The Biggest Mistake Is Letting Fear Take Over
A tick attached to your child deserves attention.
It does not deserve panic.
The practical response is much simpler:
Remove the tick promptly.
Use tweezers and steady pressure.
Clean the area.
Record when and where the exposure occurred.
Check for additional ticks.
Watch for symptoms.
And contact a healthcare provider when the circumstances or symptoms warrant it.
Those actions are more useful than frightening headlines or questionable home remedies.
Remember These Four Steps
If you remember nothing else, remember this:
1. Remove it promptly.
Grasp close to the skin and pull with steady, even pressure.
2. Don’t use home remedies to force it off.
Skip petroleum jelly, nail polish, heat and similar techniques.
3. Watch your child afterward.
Pay attention to fever, rash and other new symptoms during the following days and weeks.
4. Ask a healthcare professional when you’re concerned.
Especially if symptoms develop or you’re concerned about the circumstances of the bite.
Most importantly, finding a tick is not proof that your child has contracted a disease.
It’s a signal to respond correctly and pay attention afterward.
Knowing what to do before that moment happens can turn a frightening discovery into a situation you can handle calmly and safely.
Medical note: This article provides general educational information and is not a substitute for diagnosis or individualized medical advice. Recommendations can vary depending on the tick species, geographic area, duration of attachment, symptoms and the child’s medical history.